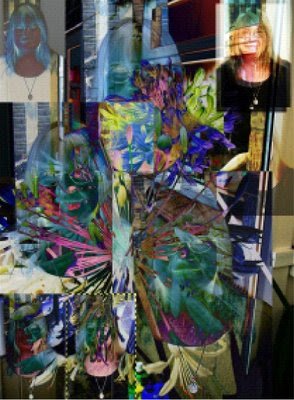
1. Open your photo files
2. Go into Dialogues menu and click on layers
(remember if you click on these photos in blogger -they will enlarge)
3. Go into Layers menu and click on duplicate- do this 3 times
4. In the layers window, drop down to dodge and play with the %- in the copy 2 duplicate.
5. Go to file menu and click on open as layers
6. Open another photo
7. Click on “scale” on the tool bar and scale the 2nd photo up and click scale to finish
8. In Layers menu-click difference
9. Repeat opening a new photo as a new layer.. Do not scale.
10. Click on the move tool and move the photo to the top right of the palette
11. Create 2 duplicates of this image
12. Play with the layers, move tool and duplicating of layers until you are happy with your design
When you are happy with your collage – then save it.

Let me know how you get on with the layers in GIMP, and I would love to see the results of your all your hard work.


No comments:
Post a Comment